

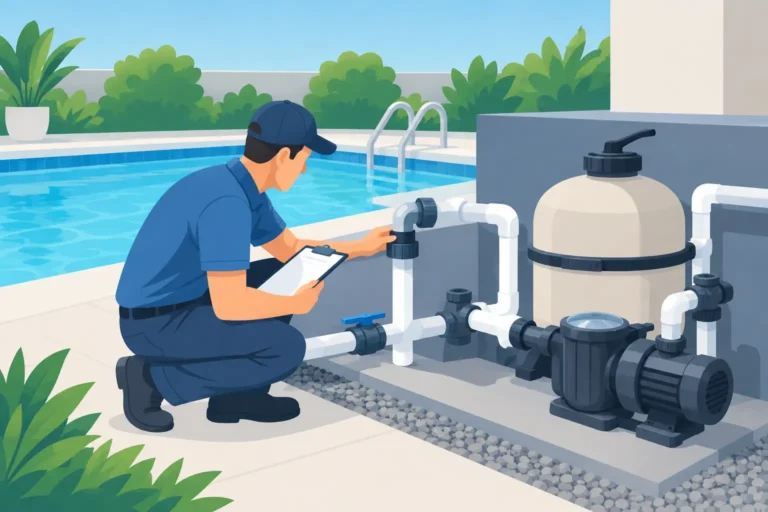
A pool can lose water for ordinary reasons, but a loss that continues after the heat, splashing, and evaporation have been accounted for deserves a closer look. This pool plumbing inspection guide helps Georgia homeowners understand what is happening below the deck, what can be checked safely at home, and when professional testing is the practical next step.
Pool plumbing leaks are frustrating because the damaged pipe is usually hidden. The visible symptom may be a dropping water line, air entering the pump, or a soggy patch near the pool. Finding the actual source takes a methodical inspection, not a guess based on where the water happens to appear.
Start by Confirming It Is More Than Evaporation
Before inspecting plumbing, establish whether the pool is truly losing abnormal amounts of water. Hot Georgia weather, direct sun, wind, pool use, and backwashing can all lower the water level. A simple bucket test can help separate evaporation from a potential leak.
Fill a bucket with pool water and place it on a pool step so the water inside the bucket is level with the water outside. Mark both levels, then leave the pump in its normal operating condition for 24 hours. If the pool water outside the bucket falls noticeably farther than the water inside, water is leaving the pool somewhere other than evaporation.
Repeat the test with the pump off if the result is unclear. A greater loss while the system runs often points toward pressure-side plumbing, returns, equipment, or fittings. A greater loss with the pump off can indicate a suction-side line, shell issue, skimmer, liner damage, or a leak that is not dependent on circulation. This comparison does not identify the exact repair, but it gives the inspection a useful direction.
What a Pool Plumbing Inspection Looks For
A thorough pool plumbing inspection follows the route water takes through the system. Water moves from the skimmer and main drain through suction plumbing to the pump, then through the filter, heater or other equipment, and back to the pool through return lines. Any connection, valve, fitting, or underground section can develop a leak.
Inspect the Equipment Pad First
The equipment pad is the most accessible place to begin. With the system running, look for drips around the pump housing, pump lid, unions, valves, filter tank, pressure gauge, heater connections, chlorinator, and plumbing joints. White mineral buildup, staining, rust, or damp soil beneath equipment can reveal a slow leak that is easy to miss during a quick glance.
Also watch the pump basket while it is operating. Persistent air bubbles in the basket or weak flow at the returns may signal an air leak on the suction side. An air leak does not always release water outside the pipe when the pump is running, because that section may be under vacuum. It can still affect circulation, prime, and equipment performance.
Do not overlook the filter’s waste line or backwash valve. A failing multiport valve, damaged gasket, or stuck valve can send water to waste without creating a wet spot near the pool. If water is continuously discharging from a waste line when the system should be filtering, the issue may be at the equipment rather than underground.
Check the Pool’s Visible Fittings
At the pool, inspect skimmers, return fittings, vacuum ports, lights, steps, tile lines, and main-drain covers. Cracks around a skimmer throat or separation where plastic meets concrete are common sources of water loss. On vinyl liner pools, examine the liner around fittings for tears, wrinkles, or loose faceplates. Fiberglass pools should be checked for cracks around penetrations and fittings, while concrete pools may show cracks in plaster, tile, or expansion areas.
Dye testing can help confirm a suspected leak at a visible opening. With the pump off and water as still as possible, a technician places a small amount of dye near the suspected area. Dye drawn into a crack or gap can provide clear evidence of a leak path. Dye testing is precise when there is a visible suspect area, but it is not a substitute for testing an unknown underground line.
Pay Attention to Where the Water Level Stops
If the pool water consistently stops at the same level, that location is a useful clue. A water line that stops near the skimmer opening may indicate a skimmer or skimmer-line issue. If it stops at a return fitting, light, or step, the fitting at that elevation deserves inspection.
This rule has limits. A pool can have more than one leak, and a plumbing leak may continue regardless of the pool’s water level. Do not allow the water to fall below the skimmer if the system is running. Running a pump without adequate water can damage the pump and create a larger repair bill.
Why Pressure Testing Matters for Underground Lines
Underground plumbing cannot be accurately diagnosed by visual inspection alone. Pressure testing isolates individual lines, seals them, and measures whether they hold pressure. A line that drops pressure has a leak or an opening that needs further investigation.
The test should be performed line by line whenever possible. Suction lines, return lines, cleaner lines, spa lines, and water-feature plumbing may each behave differently. Isolating the system prevents one failing line from masking the condition of another.
Pressure loss confirms that a line has a problem, but it does not always reveal its exact location. That is where acoustic listening equipment can be valuable. Water escaping under pressure creates a sound that trained technicians can listen for through the deck and soil. Conditions matter: pipe depth, soil type, deck material, nearby traffic, and the size of the leak can affect how clearly it can be heard.
Thermal imaging may also support the diagnostic process in certain situations. Temperature differences caused by escaping water can sometimes show patterns around a suspected area. It is one tool among several, not a stand-alone answer for every pool. The right method depends on the pool type, plumbing layout, accessibility, and test results.
Avoid Repairs Based on Assumptions
A wet patch near the pool does not automatically mean the nearest pipe is leaking. Water can travel along trenches, compacted soil, decking, or grading before it reaches the surface. Similarly, replacing a pump seal may solve a visible drip while leaving a separate underground leak untouched.
Homeowners can document water-level changes, equipment behavior, and visible moisture, but digging blindly is rarely cost-effective. It can damage healthy plumbing, landscaping, decking, or electrical components. A documented diagnostic process allows the repair to target the actual failure rather than the most convenient theory.
At Coastal Pool Repairs and Leak Detection, technicians combine visual inspection with pressure testing, acoustic listening, dye testing, and other appropriate methods to identify the source before recommending repair. The goal is a clear explanation of the findings, a transparent estimate, and a repair plan that fits the condition of the pool.
When to Schedule a Professional Inspection
Schedule service promptly if the water level is dropping faster than normal, the pump repeatedly loses prime, air bubbles are coming from returns, or soil around the pool or equipment pad stays damp without an obvious reason. A sudden increase in the water bill, cracking near fittings, or water collecting near a deck edge also warrants attention.
Urgency increases when water is near electrical equipment, undermining decking, or affecting a retaining area. Turn off the pump if it is drawing air or running dry, and keep people away from damaged deck sections until the condition can be evaluated. A leak left untreated can waste thousands of gallons, strain equipment, and gradually create structural or soil-related problems.
Common Questions About Pool Plumbing Inspections
Can I find a pool plumbing leak myself?
You may be able to identify obvious drips, damaged fittings, or unusual water loss through a bucket test. Locating a leak in buried plumbing usually requires isolation, pressure testing, and specialized listening equipment. Home observations are still valuable because they help narrow the starting point.
Does every plumbing leak require digging up the deck?
No. The repair approach depends on the location, pipe material, access, and extent of damage. Some leaks occur at accessible equipment or fittings. For underground failures, a technician may be able to pinpoint a smaller access area rather than opening a large section of deck. In some cases, rerouting a line may make more sense than excavating beneath difficult structures.
How long does an inspection take?
A straightforward inspection may be completed in one visit, while complex pools with multiple features, separate spa plumbing, or inconclusive results can take longer. The right amount of testing depends on what the initial inspection finds. Rushing past a questionable result is how leaks get missed.
When your pool is losing water, the most useful next step is not guessing where to dig. Record what you are seeing, protect the equipment from running dry, and have the plumbing tested in a way that gives you a clear path to repair.
