

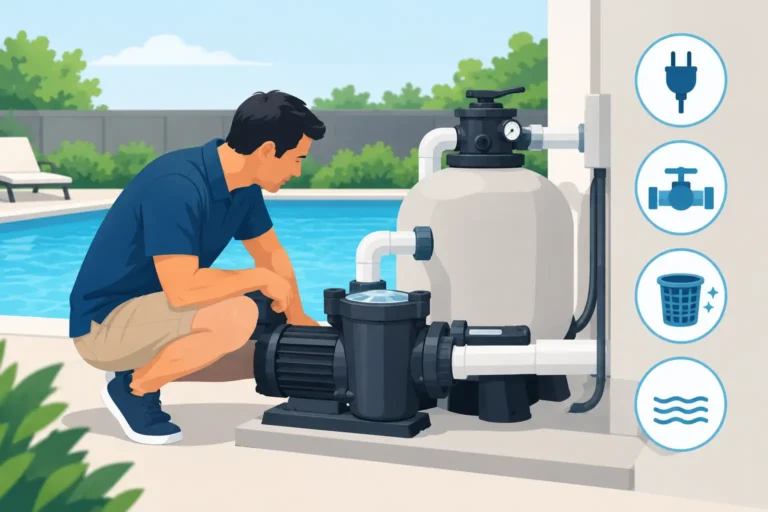
A quiet pool pad on a hot Georgia afternoon is more than an inconvenience. When your pool pump not working problem leaves the water still, filtration stops, circulation drops, and a small equipment issue can quickly become cloudy water, algae growth, or damage to the pump itself. The good news is that a few symptoms can point you in the right direction – as long as you know when to stop troubleshooting and call for service.
Start With Safety and the Simple Checks
Before touching the equipment, turn off power at the breaker. Pool pumps combine water, electricity, moving parts, and pressurized plumbing. Never remove a motor cover, open electrical connections, or force a breaker back on repeatedly. If you smell burning, see smoke, hear crackling, or find standing water around electrical equipment, leave the system off and arrange professional service.
Once the power is safely off, check the obvious conditions first. Make sure the pool water level reaches at least the middle of the skimmer opening. A low water level can pull air into the suction line, causing the pump to lose prime or run dry. Then inspect the skimmer basket and pump basket. Leaves, pine straw, toys, and heavy debris can restrict water flow enough to make a healthy pump appear to have failed.
If the pump will not start at all, check whether the breaker or GFCI outlet has tripped. Reset it once after confirming the area is dry. If it trips again, do not keep resetting it. A recurring trip may indicate a motor issue, moisture intrusion, damaged wiring, or another electrical fault that requires diagnosis.
What the Pump Is Telling You
The symptom matters. A pump that hums but will not turn, a pump that runs with no water movement, and a pump that leaks at the base each call for different repairs.
The pump is completely silent
A silent pump may have a tripped breaker, failed timer setting, faulty relay, disconnected power, or a motor that is no longer receiving voltage. Automation systems can also create confusion when schedules, freeze protection, or actuator positions override manual settings.
Homeowners can verify that the timer is set for an active run period and that the pump switch is in the proper position. Beyond those checks, electrical testing should be left to a trained technician. The issue could be as simple as a worn timer component or as involved as a failed motor, control board, or wiring connection.
The pump hums but does not spin
A humming motor often means the pump is receiving power but cannot start. On older single-speed pumps, a failed capacitor is a common cause. A seized motor shaft, damaged bearings, or a blocked impeller can create similar symptoms.
Do not keep the motor energized while it hums. That can overheat the windings and turn a repairable component problem into a full motor replacement. A technician can inspect the motor, impeller, capacitor, seals, and electrical supply to determine whether repair or replacement makes better financial sense.
The pump runs but has little or no flow
When the motor is running but the returns are weak, the problem is often on the water-flow side. Start by cleaning the baskets and checking that valves are open. A dirty filter can also restrict circulation substantially. Depending on your filter type, that may mean backwashing a sand or DE filter or cleaning a cartridge filter.
If the pump basket will not stay full of water, air is likely entering somewhere before the pump. Look for a loose pump lid, flattened or cracked lid O-ring, low water level, loose drain plugs, or a closed suction valve. Lubricating a clean O-ring with pool-safe lubricant and properly reseating the lid can sometimes restore the seal.
Persistent air in the pump is not always a lid issue. A cracked suction line, failing valve, damaged skimmer, or underground plumbing leak can draw in air without leaving a visible puddle. This is where specialized testing becomes valuable.
The pump is leaking water
Water beneath the pump should not be ignored. A drip from the connection fittings may come from a loose union, failing O-ring, or cracked fitting. Water appearing between the motor and pump housing commonly points to a worn shaft seal. Left alone, a shaft seal leak can reach the motor and shorten its life.
A leak near the pump can also be misleading. Water may be traveling along plumbing or dripping from the filter, heater, valve, or chlorinator before collecting at the pump pad. A complete equipment inspection identifies the true source before repairs begin.
When a Pool Pump Not Working Problem Is Really a Leak Problem
Pool owners often notice a pump issue and water loss at the same time. The two may be connected. A suction-side plumbing leak can pull air into the system while the pump is running, causing bubbles at the return jets, difficulty priming, and poor circulation. A pressure-side leak may lose water only while the equipment is operating.
A useful observation is whether the pool loses more water with the pump on or with the pump off. This does not confirm the exact leak location, but it helps narrow the investigation. Water loss that increases during pump operation may involve return lines, equipment plumbing, or another pressure-side component. Water loss that continues at a similar rate when the pump is off may point to the shell, liner, skimmer, main drain, or plumbing that needs further testing.
Guessing at an underground line repair is expensive and disruptive. Coastal Pool Repairs and Leak Detection uses pressure testing, acoustic listening, dye testing, thermal imaging, and detailed equipment inspections to identify the problem before recommending a repair scope. That means homeowners receive documented findings and a clear estimate rather than a vague recommendation to start replacing parts.
Repairs That Should Not Wait
Some pump problems can wait for a scheduled visit, but others deserve prompt attention. Shut the system down and request service if the motor is hot to the touch, the breaker repeatedly trips, the pump is making a grinding or screeching sound, or the equipment pad is actively leaking. These signs can indicate failing bearings, electrical trouble, a compromised seal, or a plumbing issue that could worsen with operation.
Likewise, do not run a pump without water in the housing. Running dry can damage the shaft seal and internal components quickly. If the pump will not prime after you have confirmed proper water level, clean baskets, open valves, and a secure lid, stop there. Continued attempts may cause more damage without solving the source of the air leak.
Repair or Replace: What Makes Sense?
There is no one-size-fits-all answer. A relatively new pump with a failed seal, capacitor, lid, impeller, or plumbing fitting may be a practical repair. A pump with severe corrosion, recurring leaks, noisy bearings, or a failing motor may be better replaced, particularly if it is older and inefficient.
The right choice also depends on your pool’s plumbing, filter, features, and required flow rate. An oversized replacement can waste energy and strain plumbing. An undersized unit may not support a heater, cleaner, water feature, or proper filtration. Variable-speed pumps often reduce operating costs, but they need correct programming and installation to deliver those savings.
A qualified diagnosis should separate the failed component from the larger system condition. For example, replacing a motor will not fix a suction leak, and installing a new pump will not resolve a restricted filter or failing automation relay.
A Practical Checklist Before Service
To help a technician diagnose the issue efficiently, note when the problem began and what you observed. Record whether the pump is silent, humming, loud, leaking, losing prime, or running with weak flow. Also note whether the water level is dropping faster with the equipment on and whether any recent storms, freezing weather, electrical work, or changes to automation settings occurred.
If possible, take a clear photo of the equipment pad and the pump label without removing covers or opening electrical panels. Model information, visible plumbing layout, and error messages can help guide the initial conversation.
Your pool does not need a temporary workaround that risks a motor, electrical system, or hidden plumbing line. A careful inspection gives you a defined problem, a transparent repair path, and the confidence to put the system back into service safely.
